LilyPad Arduino LED Biking Jacket
Ever since I found the LilyPad, I have had this project in mind. It was one of the first I found, developed by the designer of the LilyPad herself. As a beginner to both electronics and sewing, I thought it was a nice bar to set for myself in order to grok the process of building e-textiles. I made this particular jacket as a gift to my wife Karin since she bikes to work every day.
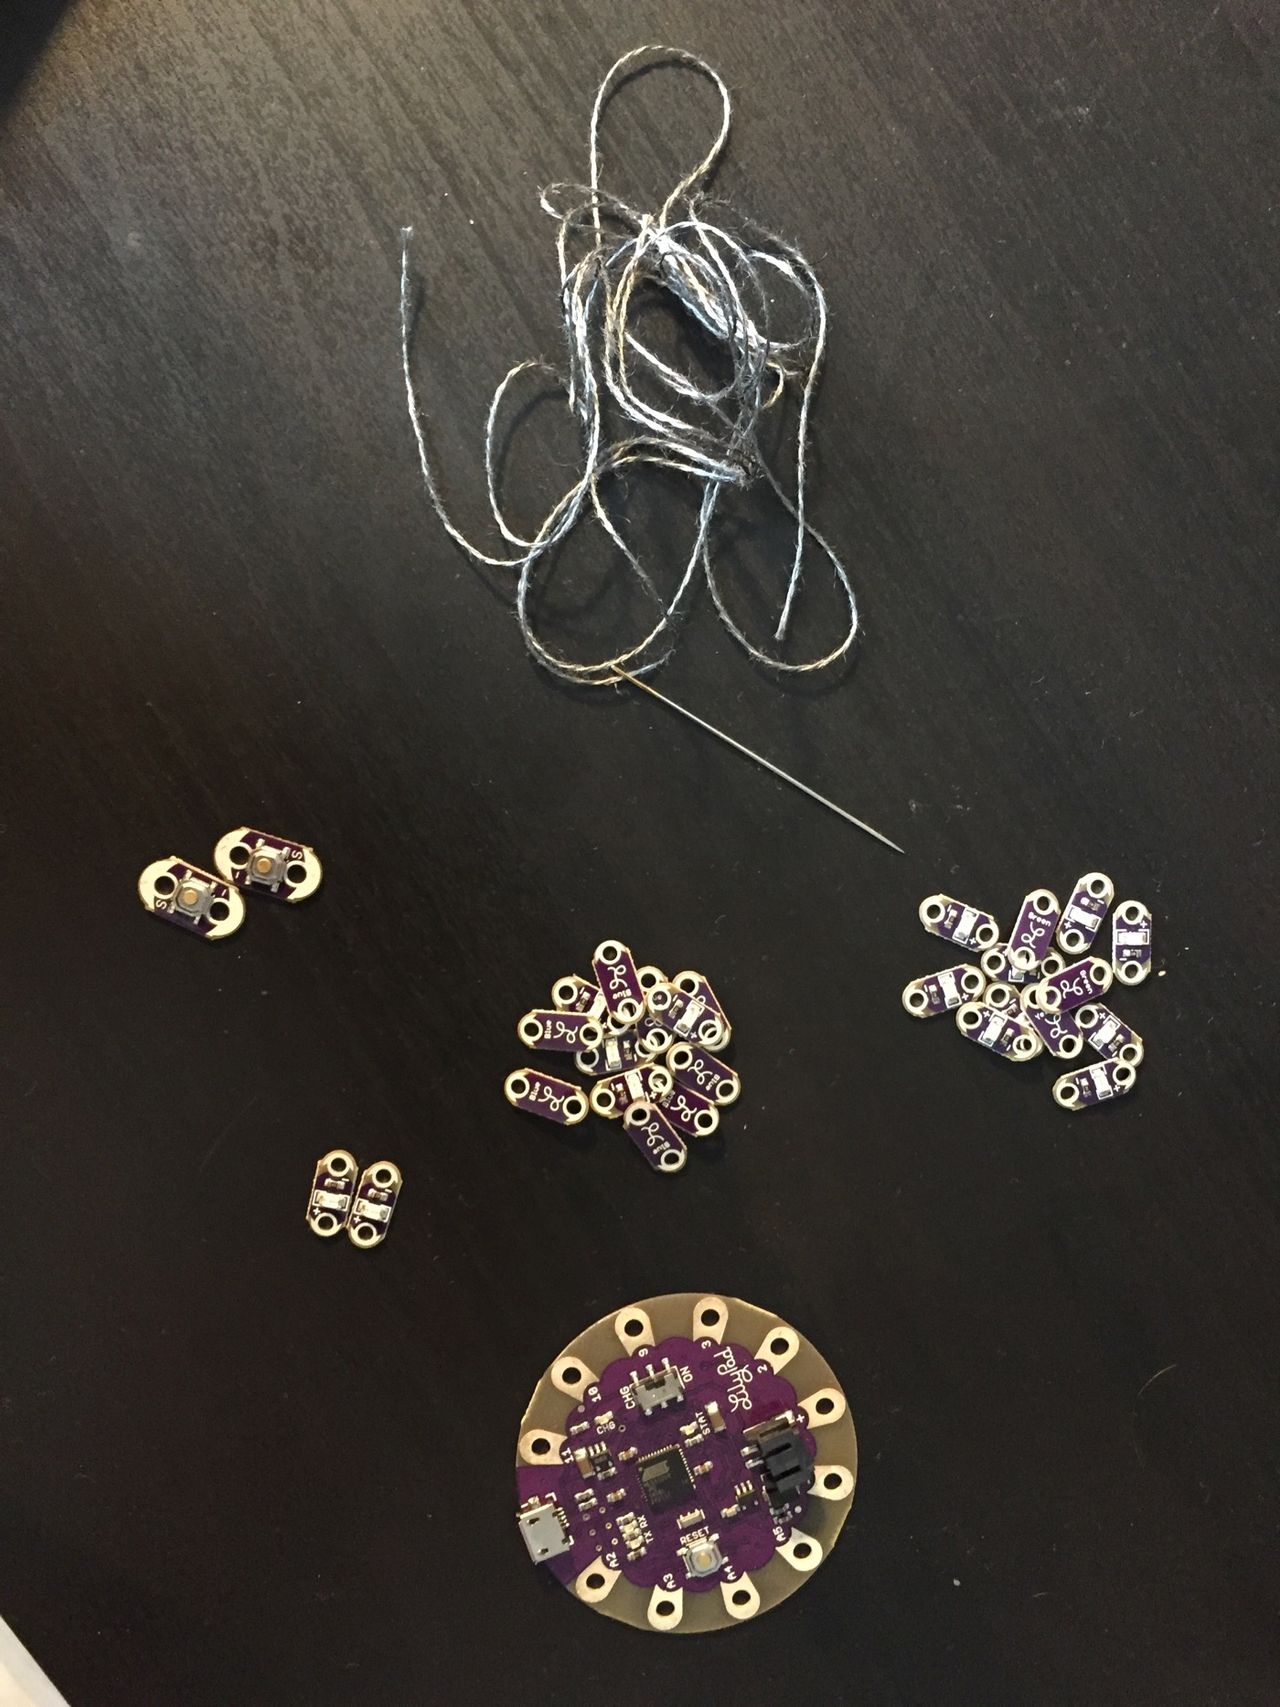
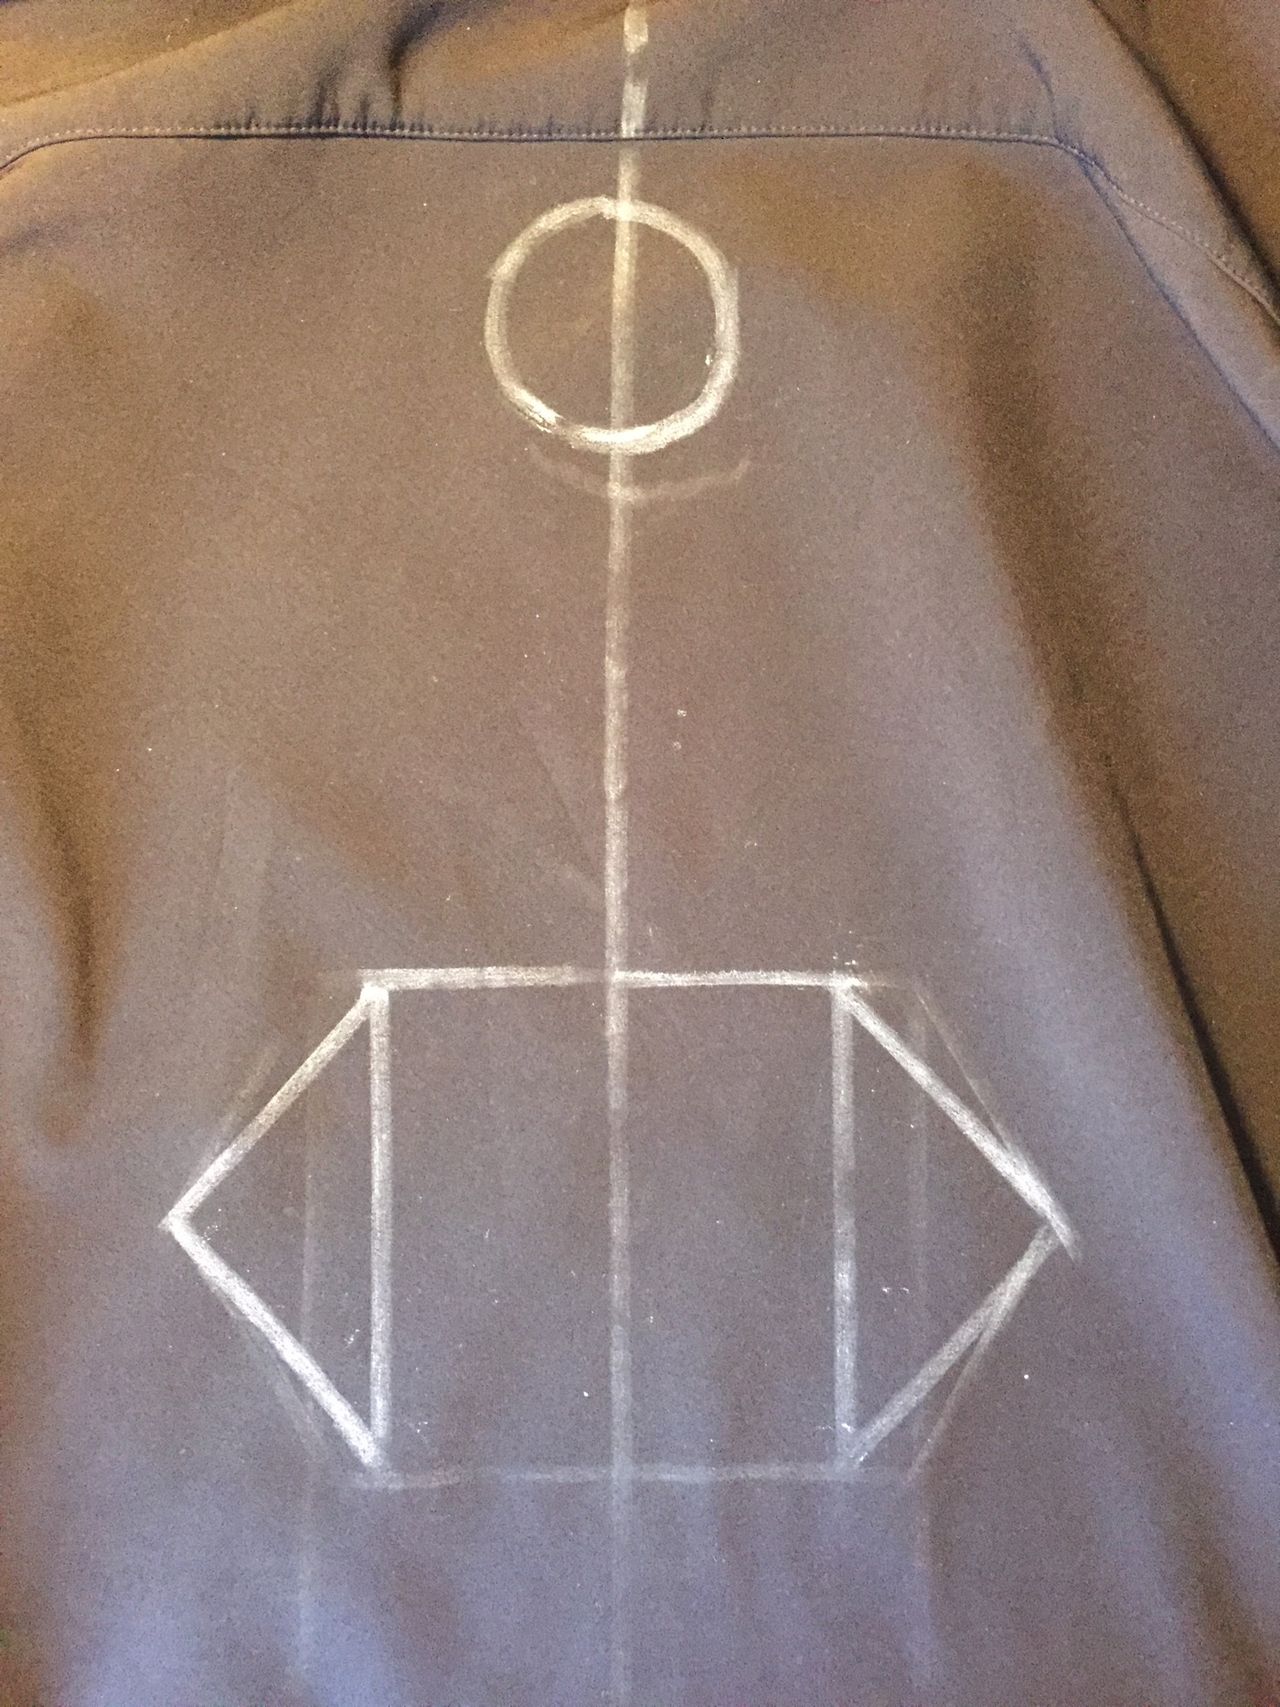
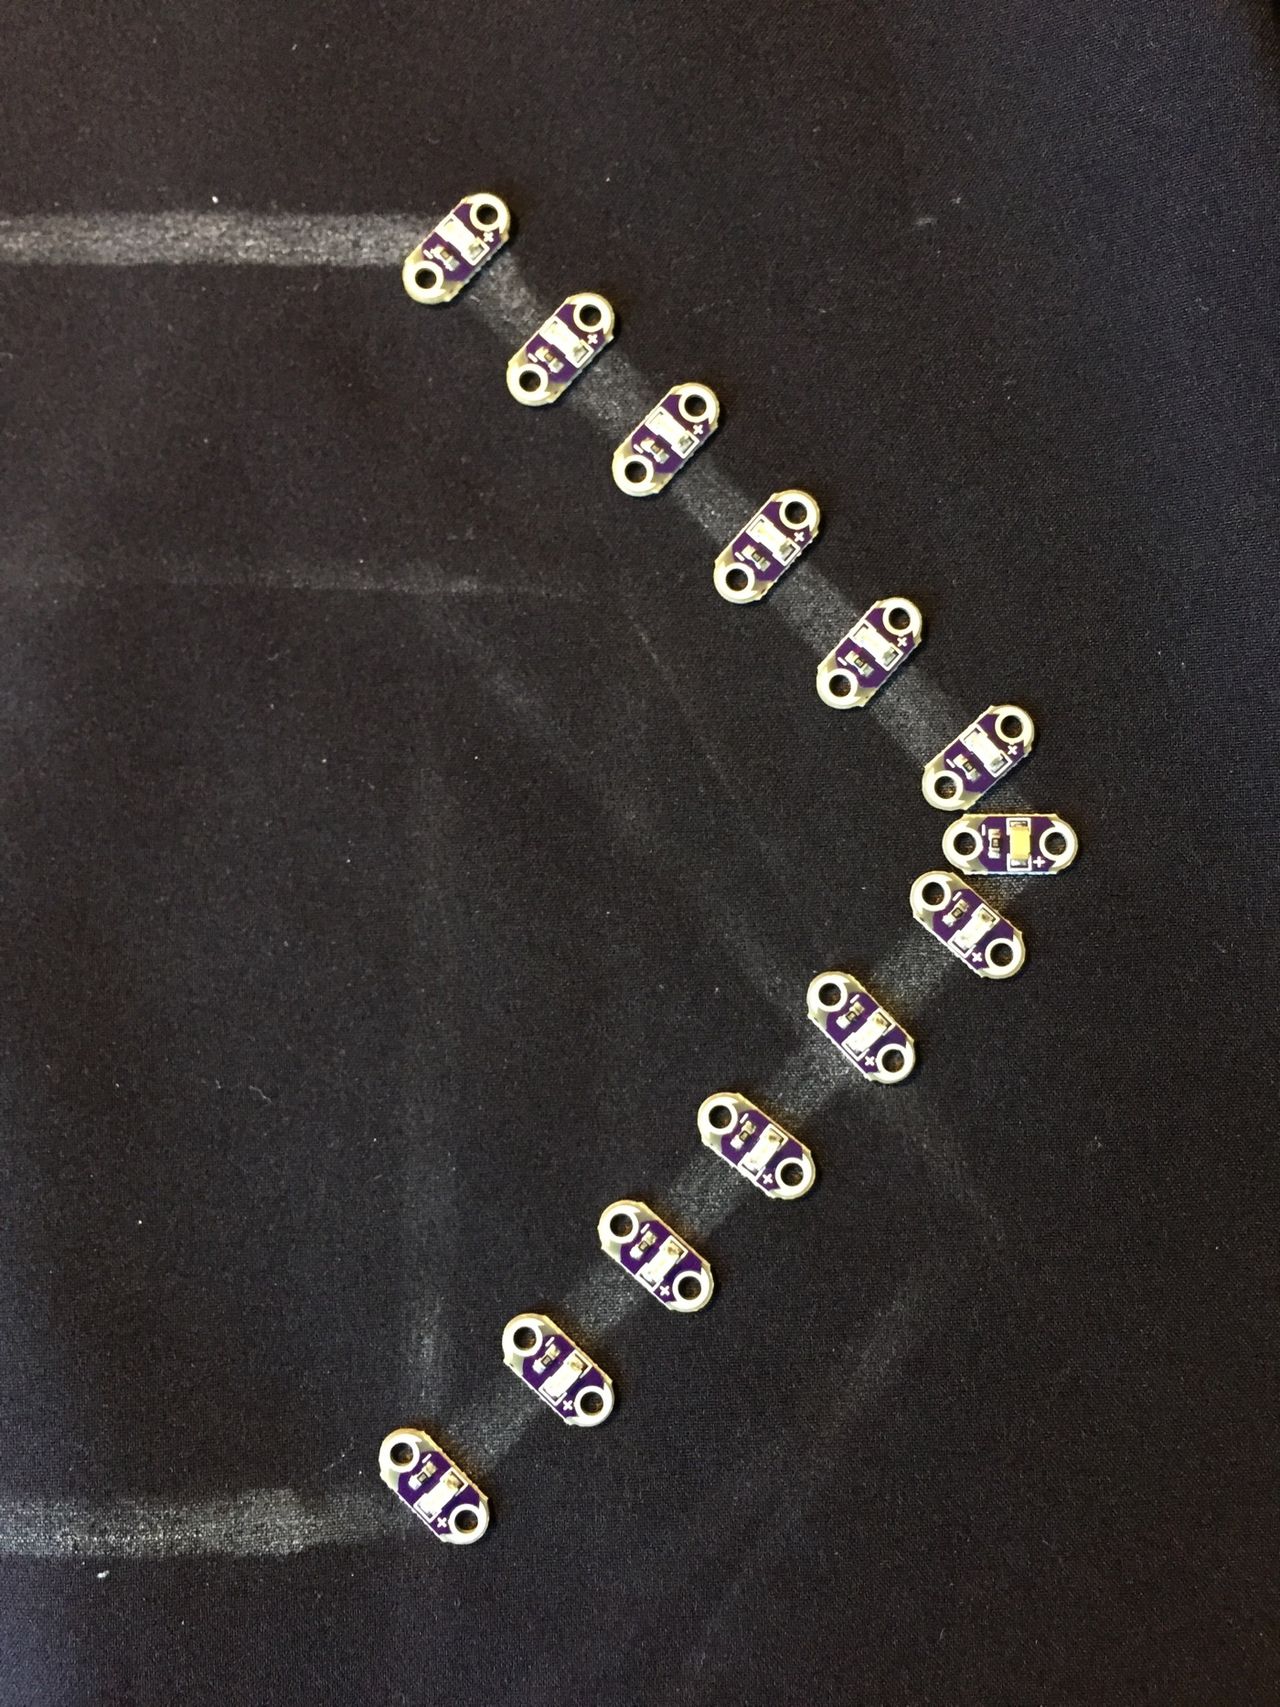
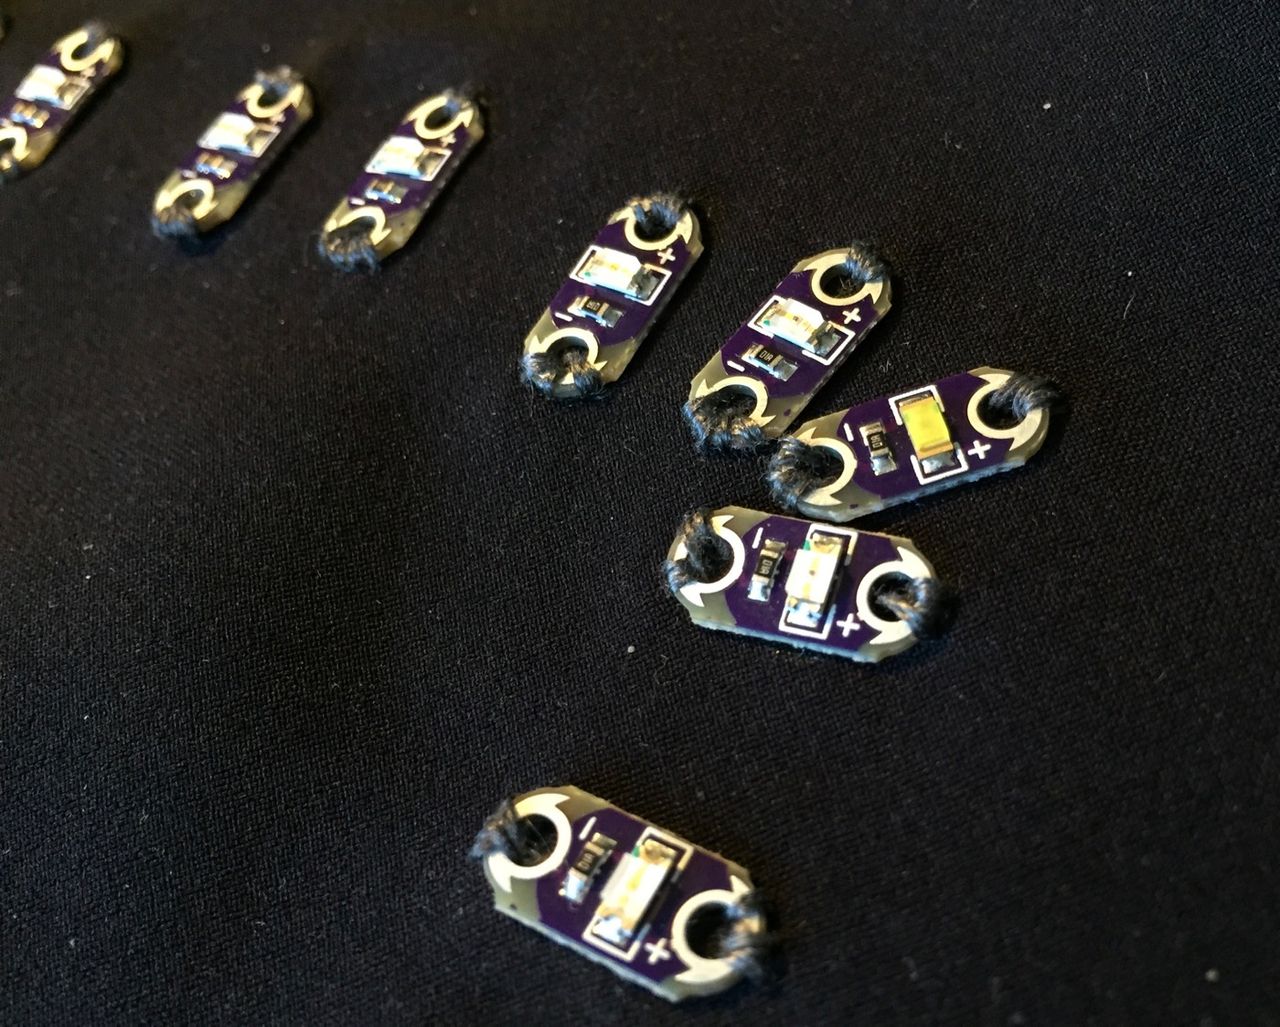
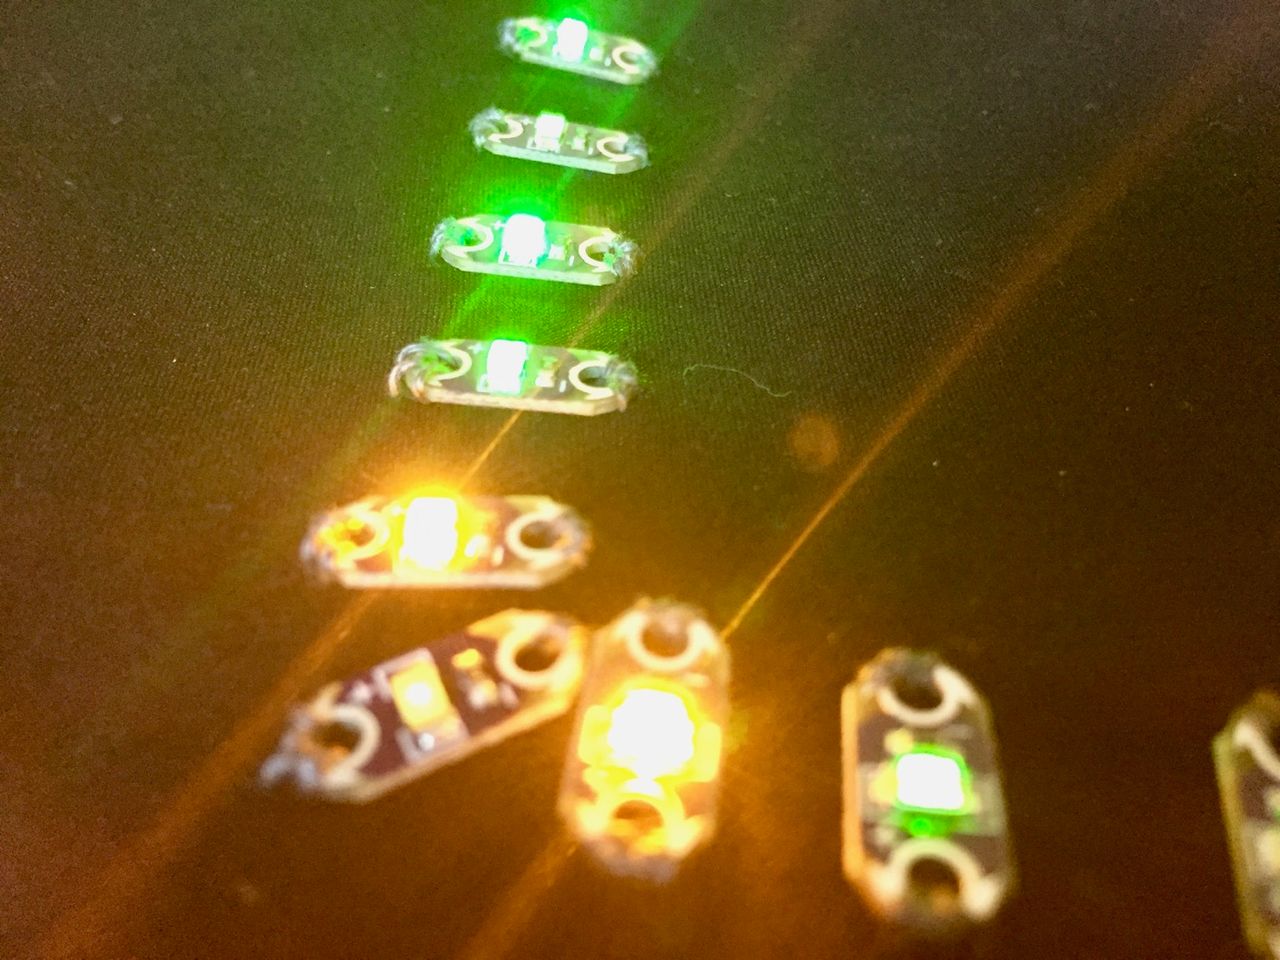
Here are some pictures of the jacket with some notes I jotted down during the project. Below the photos I included more details if you're interested in the actual construction and coding of the jacket.


I used Leah Buechley's instructables.com tutorial as my guide, and it is a great walk-through that I need not reproduce. If you want to build one for yourself, use her tutorial. Then you can revisit this post to see my modifications and code samples.
Construction modifications
Per her recommendation I started with a sturdy windbreaker that had an inner fleece lining. It wasn't thick, but the lining makes sewing inside the jacket so much more sturdy, not to mention sightly. Sewing all the stitches neatly within the inner layer and only exposing thread at components' contact points makes for a great looking jacket that is a bit more weatherproof.
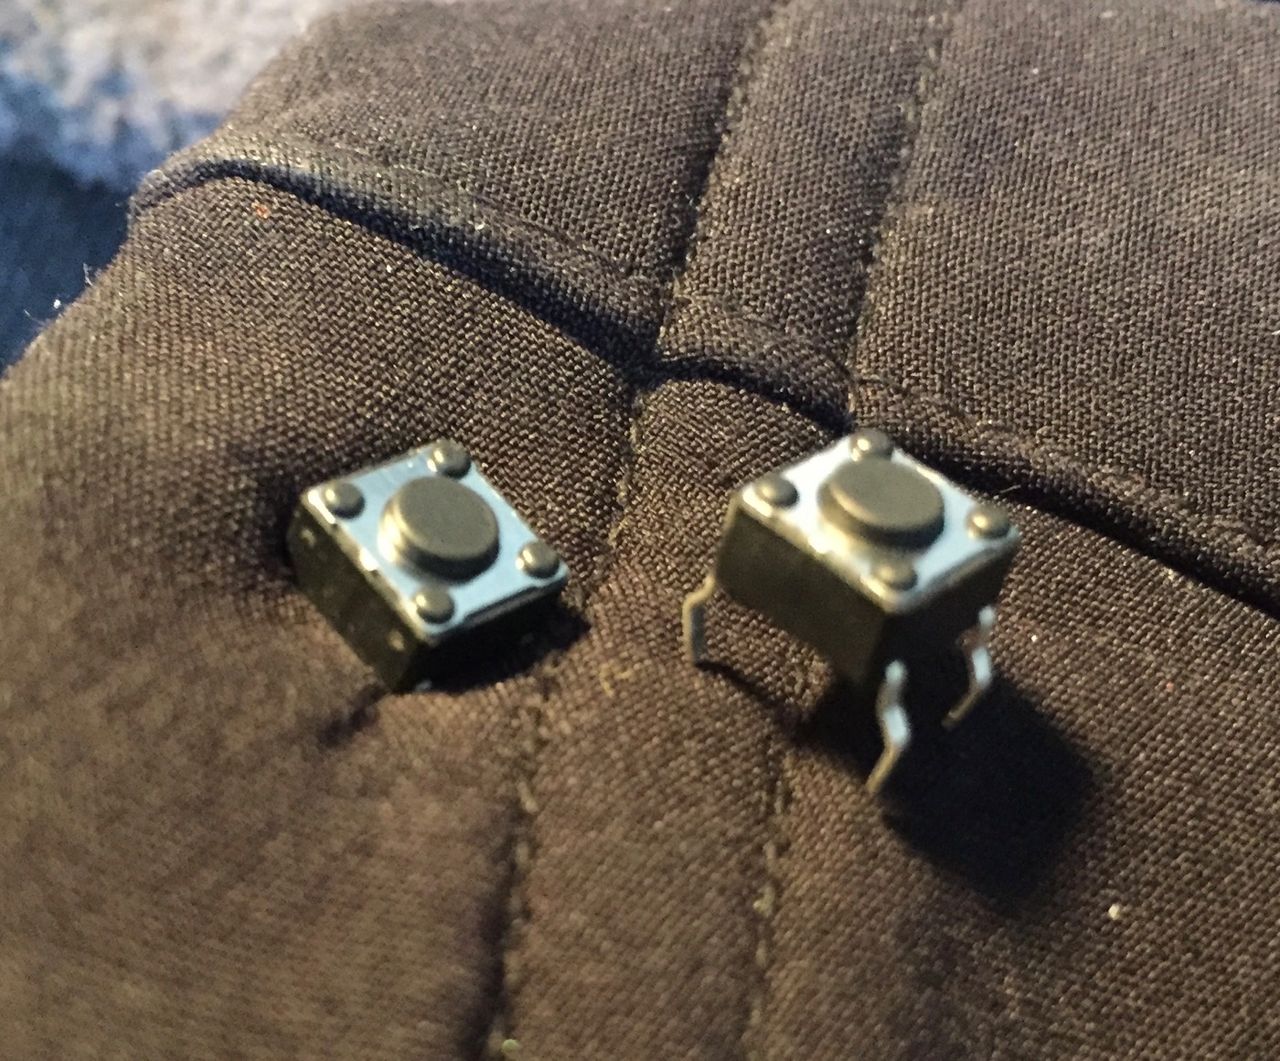
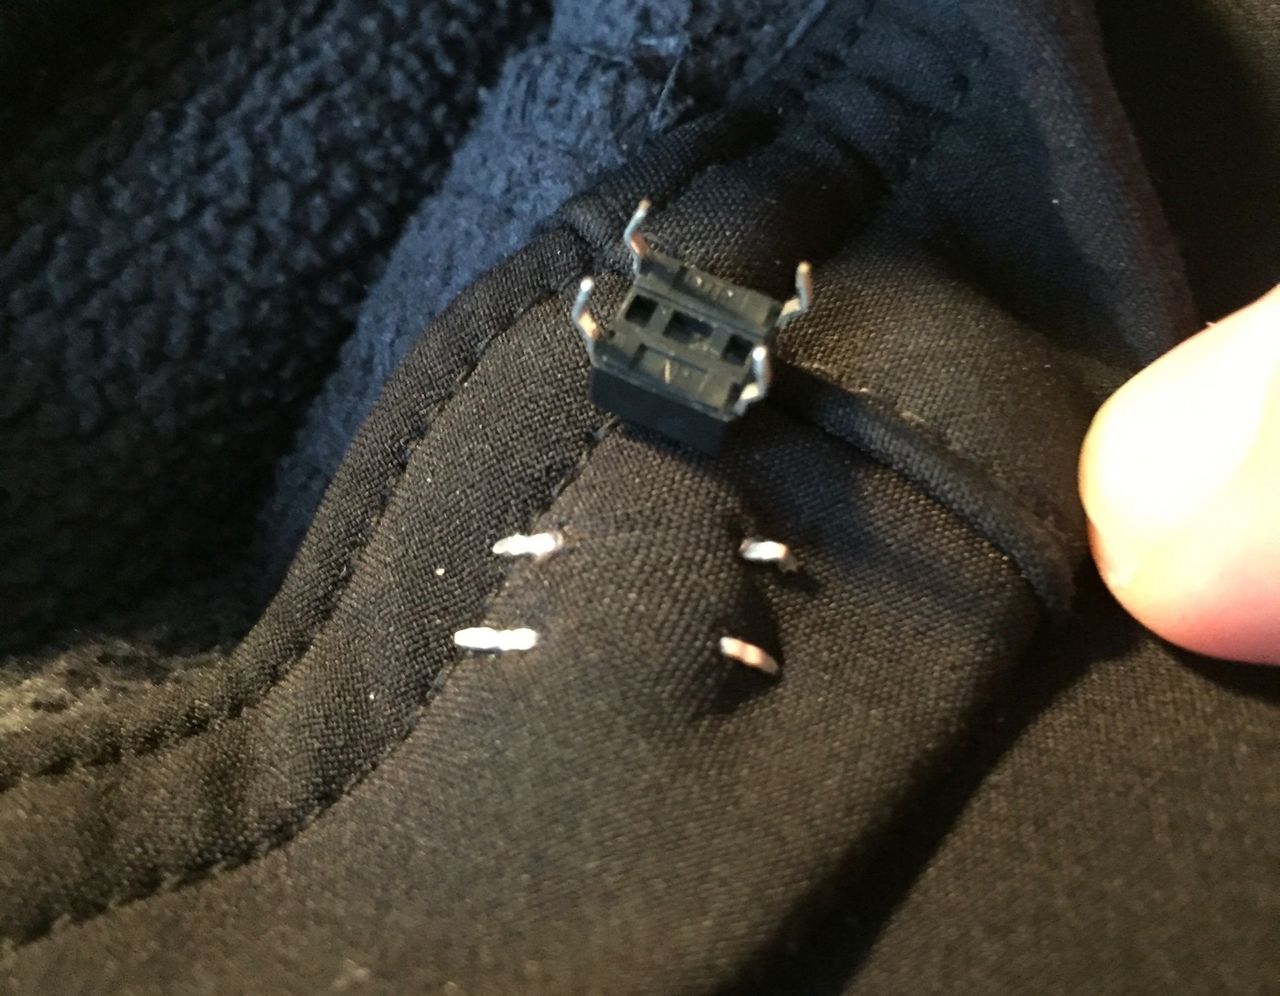
I ordered the SparkFun LilyPad buttons pictured in my materials photo, but ended up using DIP N push-button switches from my local electronics store instead. They have a softer pressure and a higher profile, making it easier to trigger the signals.
In addition to the fabric glue used to insulate the exposed electronics, I used a gel variant of superglue to secure all the components to the jacket before sewing. I found superglue to be better because it's stronger and it dries quite fast. Fast-drying glue meant I could glue things down and proceed to sew after just a couple minutes, instead of waiting the recommended two hours for the fabric glue.
Code modifications
Unlike my normal environment of a web browser, this jacket has a mere two pushbuttons as an interface. That means there are four total states for the hardware. Using these wisely was a programming challenge, not from a syntax standpoint, but usability.
The original code that went with the project can currently be found only on archive.org but I have some similar code that I created with the original as reference.
Something I learned from Leah's code is using a read command within a while statement, which effectively pauses execution until specific input is received. This allows us to respond to both buttons being pushed, or just one. Here is an incomplete example block showing this technique:
if (digitalRead(leftButton) == LOW) {

  // Listen for the same condition we just tested,
  // meaning we can wait for additional input until
  // the first button is released.
  while(digitalRead(leftButton) == LOW) {

    // If other button is detected, trigger hazard mode.
    if (digitalRead(rightButton) == LOW) {
      hazardMode = 1 - hazardMode;
      return;
    }
  }

  // ...other stuff
}
One customization I think made a very big difference was to use pulse width modulation to fade the blinkers in and out. I just wanted the blink cycle to look a bit fancier and this simple addition did the trick. The next incomplete code block is inside a larger function which controls both driver indicators and blinkers when a button is pressed:
// Fade in blinker.
for (x = 0; x <= 255; x += 6) {
  analogWrite(blinker, x);
  delay(2);
}

// Blink rapidly a few times
digitalWrite(blinker, HIGH);
delay(100);
digitalWrite(blinker, LOW);
delay(75);
digitalWrite(blinker, HIGH);
delay(100);
digitalWrite(blinker, LOW);
delay(75);
digitalWrite(blinker, HIGH);
delay(100);
digitalWrite(blinker, LOW);
delay(75);
digitalWrite(blinker, HIGH);
delay(100);
digitalWrite(blinker, LOW);
delay(75);
digitalWrite(blinker, HIGH);
delay(100);

// Fade out blinker.
for (x = 255; x >= 0; x--) {
  analogWrite(blinker, x);
  delay(3);
}

// Blinker off completely.
digitalWrite(blinker, LOW);
The full code is a bit unwieldy to display here, but I have posted a GitHub Gist with my entire source.
Building this jacket was a ton of fun in addition to being a great Arduino learning experience. Plus, Karin loved her gift and can't wait for the warm weather so she can start using it on her daily commute!